
Setting Up Your First Sewing Machine
Threading, tension adjustment, and needle selection. Get these three things right and you're ready to sew.

Why Setup Matters
A lot of beginners get frustrated with their first projects. Fabric bunches up. Stitches look uneven. The needle keeps breaking. But here's the thing — it's rarely the machine's fault. Most of the time it's one of three things: improper threading, tension that's way off, or using the wrong needle.
We're not talking about complex adjustments. These are straightforward tasks you can master in 15 minutes. Once you nail the basics, you'll be surprised how much better everything sews. Your machine will run smoothly. Stitches will be even and clean. And you'll actually enjoy the process instead of fighting with your equipment.
Threading Your Machine
1
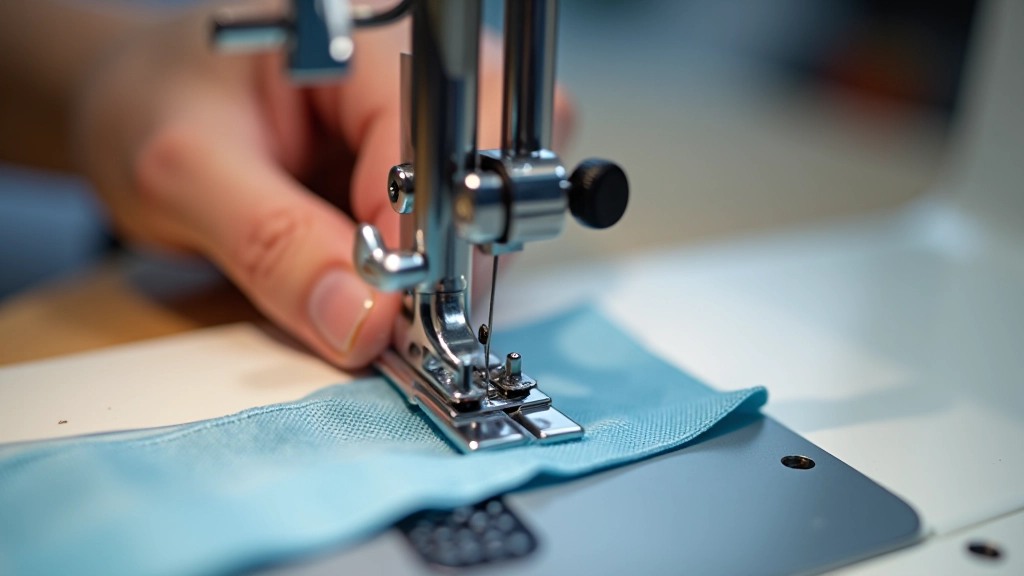
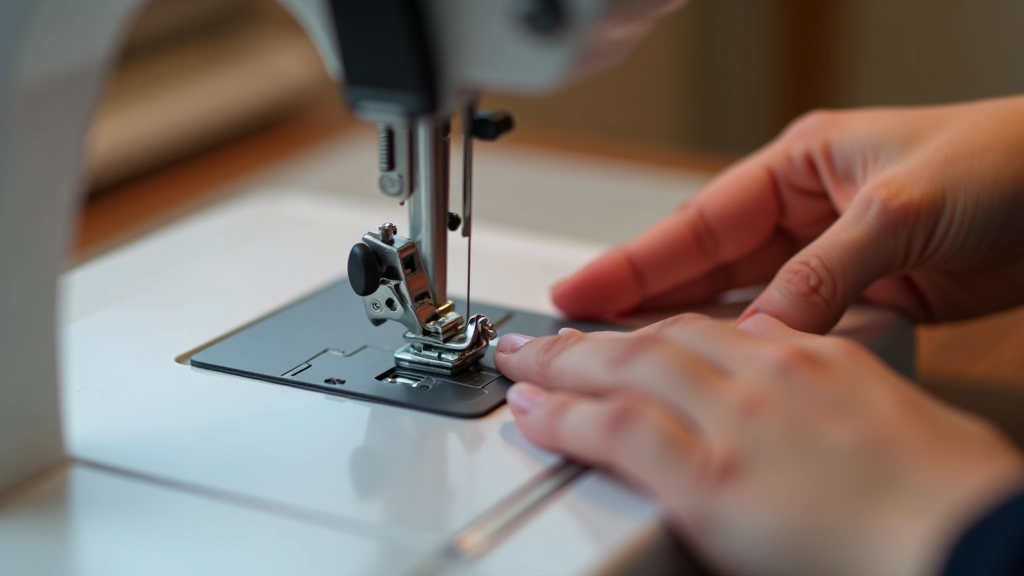
Start with the presser foot up. Seriously. This is the most skipped step and it causes 90% of threading problems. When the foot is down, the tension discs are locked. You can't get the thread between them properly. Raise it first.
Place your spool on the pin at the top. Most machines have a horizontal or vertical pin — check your manual for yours. The thread should come off smoothly without any resistance. If it's catching or twisting, reposition the spool.
Now follow the thread guides down. This is where it gets important. Your machine has a specific path marked with arrows, little guides, or indents. Don't skip any of them. Thread goes through the tension disc (that's the critical part), through the tension regulator, then down toward the needle. Some machines have a needle threader — if yours does, use it. If not, steady your hand and slide the thread through the needle eye from front to back.
The Bobbin Setup
2
The bobbin is the lower thread. If you've never done this before, it might feel fiddly at first. Wind the bobbin on the winding mechanism at the top of your machine — thread it through the tension guide on the bobbin winder, then onto the bobbin itself. Wind it firmly but not too tight. You'll feel resistance but not strain.
Once wound, remove the bobbin and insert it into the bobbin case. The thread comes up through the slot, then under the tension spring. This spring is what holds the lower tension. Don't forget this part. Many people drop the bobbin in and wonder why stitches are loose. The thread needs to sit under that little metal spring.
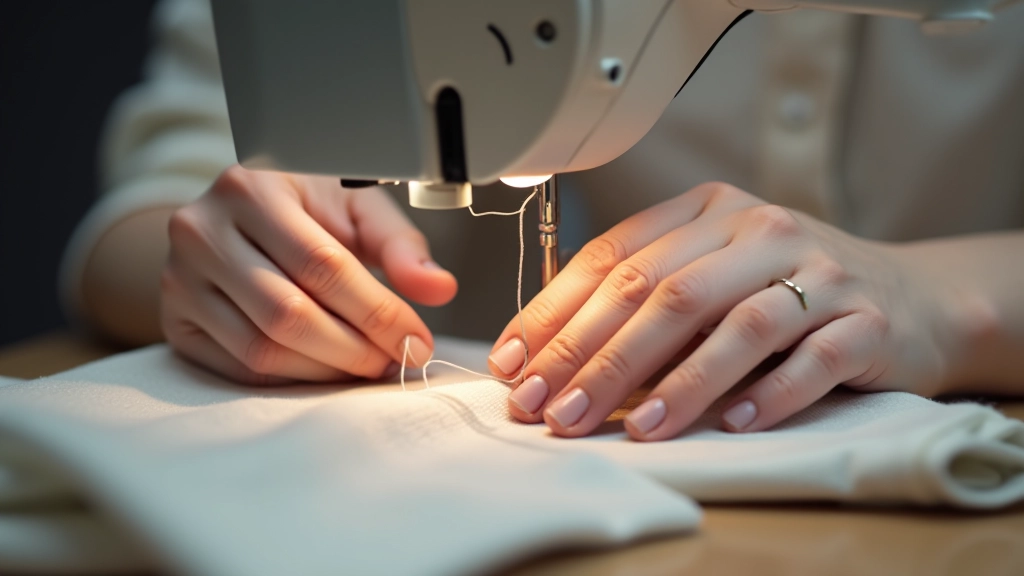
Pull the thread to check it's secure. It shouldn't slide out easily. Then bring up the bobbin thread by holding the top thread, turning the handwheel toward you once. The bobbin thread should loop out. Grab it and pull it up through the throat plate opening. You'll now have two threads ready to stitch.
Continue Your Learning
Working With Latvian Linen: A Beginner's Guide
Read Article
Šūšanas Workshops in Rīga & Ventspils — What to Expect
Read ArticleGetting Tension Right
3
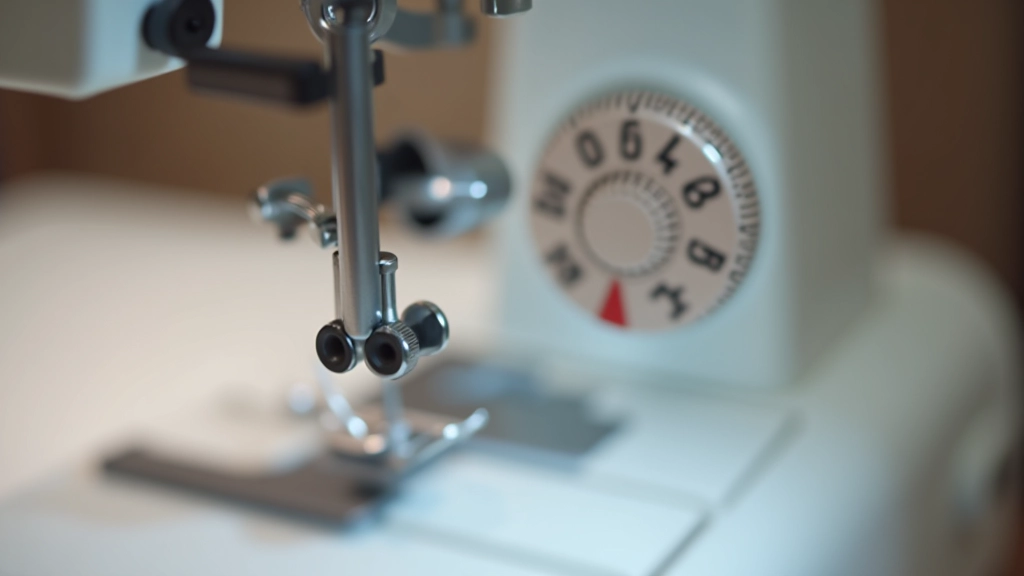
Tension is probably the most misunderstood part of machine setup. Most people think they need to adjust it constantly. You don't. In fact, on most machines, you'll barely touch the tension dial once it's set correctly.
Here's what tension does: it controls how tight the top thread is compared to the bottom thread. When balanced, the two threads lock together inside the fabric. You can't see the lock — it happens between the layers. Perfect tension means even stitches on both sides.
Start with the dial set to the middle position (usually marked as 4 or 5 on a 0-9 scale). Sew a test on scrap fabric. Look at both sides. If the top thread is bunched or loose, the tension's off. Top thread bunching means tension is too tight — turn the dial down. Bottom thread visible on top means tension is too loose — turn the dial up. Make small changes. Half a number at a time. One stitch line per adjustment until it's balanced.
Different fabrics might need tiny adjustments. Lightweight cotton might want a 3.5. Heavy canvas might prefer a 4.5. Once you know your baseline, you'll develop a feel for it. Most people find their sweet spot and stay there for months.
Choosing the Right Needle
This gets overlooked so much. People use the same needle for cotton and for knits and for leather. Then they wonder why stitches skip or why the fabric puckers. The needle matters more than you'd think.
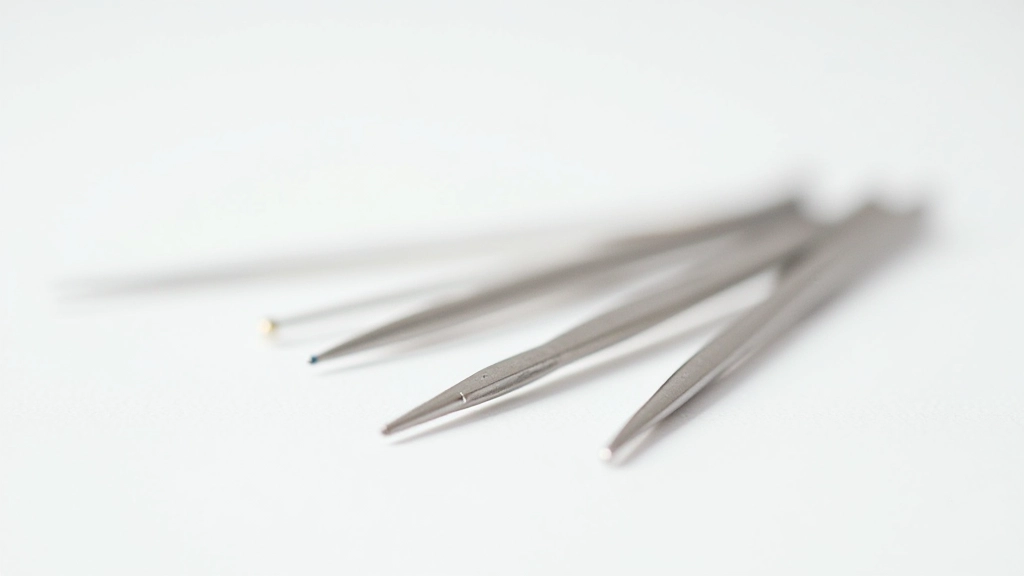
Universal needles (marked 80/12 or 90/14) work fine for most woven fabrics. Start with these. But if you're sewing knits, you need a ballpoint needle. If you're doing stretch fabric, use a stretch needle. The ballpoint glides between fibers instead of puncturing them. That's the whole difference.
Size matters too. The first number is the European size, the second is American. Higher numbers are thicker needles for heavier fabric. For lightweight cotton, 70/10 or 80/12 is perfect. For heavier canvas or denim, jump to 90/14 or 100/16.
And here's the thing people never mention — change your needle often. After 8 hours of sewing, replace it. A slightly dull needle causes skipped stitches, thread breaks, and puckered seams. New needles are cheap. Ruined projects are expensive. Replace it before you get frustrated.
Testing Before You Start
1
Thread Test
Cut a piece of scrap fabric about 4x4 inches. Cotton muslin works great. Thread your machine and do a test run. Stitch a straight line. Examine both sides. You're looking for even stitches, no loops, no bunching.
2
Curve Test
Now try a gentle curve on the same scrap. Curves show tension problems faster than straight lines. If your thread is puckering on curves, you've found a tension issue to fix before starting your real project.
3
Fabric Test
Test on the actual fabric you're using for your project. Cotton behaves different from linen. Knits are totally different from wovens. A quick test on your real fabric catches problems before you've sewn 20 seams.
You're Ready to Sew
Threading, tension, needle selection. These three things are foundational. Get them right and you've solved most beginner problems before they start. Your machine will run smoothly. Stitches will be even. Projects will actually work out the way you planned.
Don't rush the setup. Spend 20 minutes getting it right. That investment pays off on every single project you make. And once you've done it a few times, you won't even think about it — it'll just be automatic. Your hands will know the path the thread takes. You'll know which needle to grab without thinking.
That's when sewing stops being frustrating and starts being fun. That's when you realize why people love this hobby so much. There's something deeply satisfying about fabric coming together under your hands, stitch by stitch, knowing your setup is solid and everything's working the way it should.
Important Note
This guide is educational material based on general sewing practices. Every sewing machine model varies in design and operation. Always consult your machine's specific manual for threading instructions, tension guidelines, and needle compatibility. Different fabric types may require different setup adjustments. When in doubt, test on scrap fabric first. Results depend on your specific equipment, technique, and materials used.